
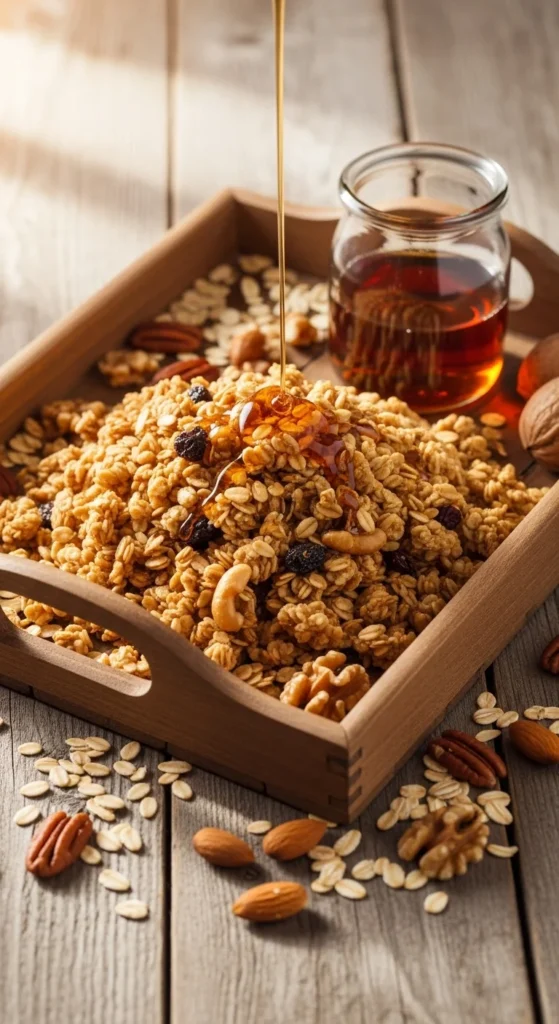
If you’ve ever opened a bag of store-bought granola “just to snack,” only to find yourself scraping the bottom five minutes later — you’re not alone. But here’s the thing: homemade maple syrup granola is even more irresistible — crisp, golden, and packed with toasted nuts, chewy clusters, and that subtle caramel flavor only real maple syrup can bring.
The best part? It’s super easy to make, totally customizable, and way healthier (and cheaper!) than anything you’ll find in a bag. Let’s dive into how to make a batch that will have you sneaking handfuls straight off the baking sheet.
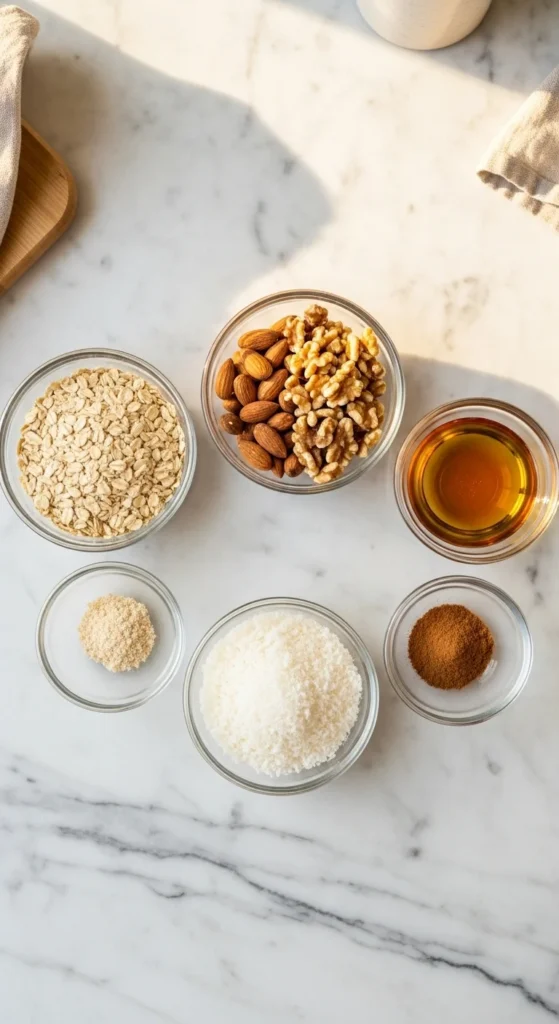
Step 1: Gather Your Ingredients
The secret to addictive granola is the perfect balance of sweet, salty, and crunchy — and using quality ingredients that toast beautifully in the oven.
Here’s what you’ll need:
- 3 cups old-fashioned rolled oats (not quick oats)
- 1 cup chopped nuts (almonds, pecans, or walnuts are perfect)
- ½ cup unsweetened coconut flakes (optional, but so good)
- ½ cup pure maple syrup (the star of the show!)
- ⅓ cup melted coconut oil or olive oil
- 1 teaspoon cinnamon
- ½ teaspoon sea salt
- 1 teaspoon vanilla extract
- ½ cup dried fruit (raisins, cranberries, or chopped apricots – add after baking)
Pro tip: Use Grade A dark amber maple syrup for the richest flavor. It caramelizes beautifully and gives that toasty sweetness you’ll crave in every bite.
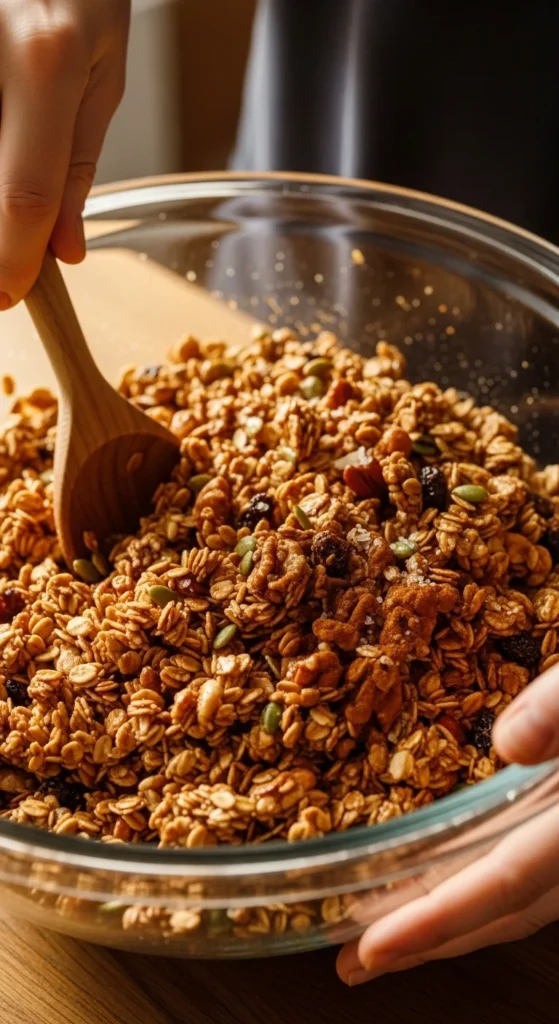
Step 2: Mix It All Up
Grab your biggest mixing bowl — this is where the magic begins.
- Combine the oats, nuts, coconut, cinnamon, and salt in the bowl.
- In a separate small bowl, whisk together the maple syrup, melted oil, and vanilla extract.
- Pour the wet mixture over the dry ingredients and stir until every oat and nut looks slightly glossy and coated.
The key here is even coating — that’s what helps create those delicious clusters once baked.
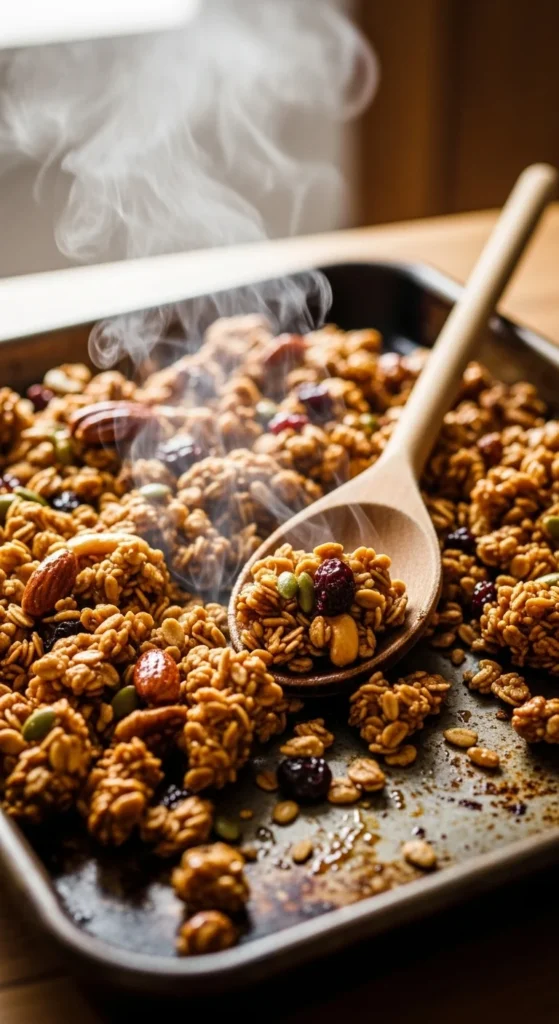
Step 3: Bake to Perfection
This step transforms your mixture from “oat mush” to golden, crunchy bliss.
- Preheat your oven to 325°F (160°C).
- Line a large baking sheet with parchment paper.
- Spread the granola mixture evenly, pressing it down slightly with a spatula — this helps form chunks.
- Bake for 20 minutes, then stir gently.
- Continue baking for another 15–20 minutes, or until it’s deep golden brown and smells heavenly.
Let it cool completely before breaking it up. (Yes, waiting is torture, but it’s worth it!) As it cools, the granola hardens and becomes perfectly crunchy.
Step 4: Add the Finishing Touches
Once your granola is cool, toss in your favorite dried fruit — or even dark chocolate chips if you’re feeling indulgent.
Try these combos for fun flavor twists:
- Cranberry Almond Crunch: Dried cranberries + sliced almonds
- Tropical Escape: Coconut flakes + dried pineapple
- Maple Pecan Chocolate: Chopped pecans + dark chocolate chunks
- Apple Pie Mix: Dried apples + extra cinnamon
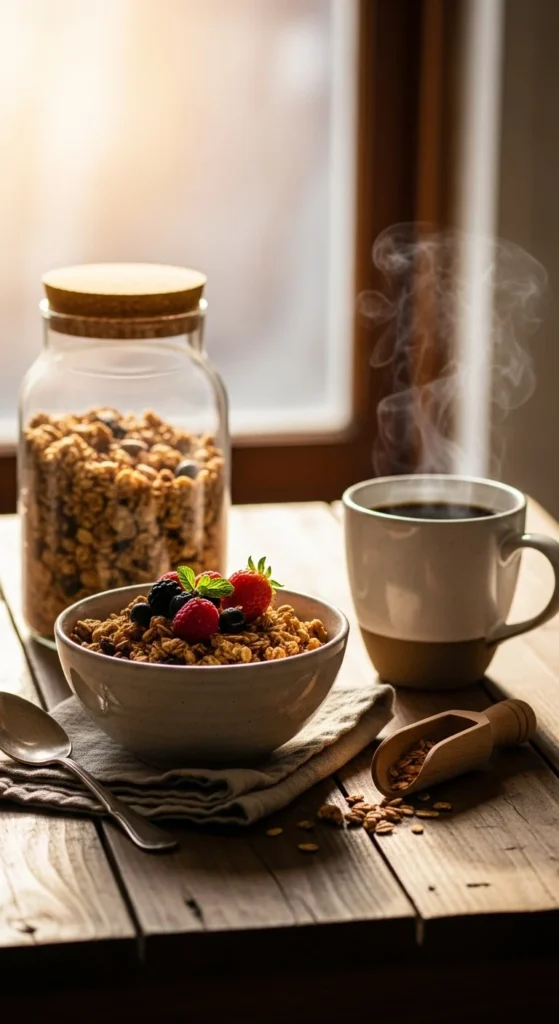
Store your granola in an airtight jar or container for up to two weeks (if it lasts that long!).
Step 5: Enjoy It Every Which Way
Homemade maple syrup granola isn’t just for breakfast — it’s basically an all-day snack superstar.
Here are a few ways to enjoy it:
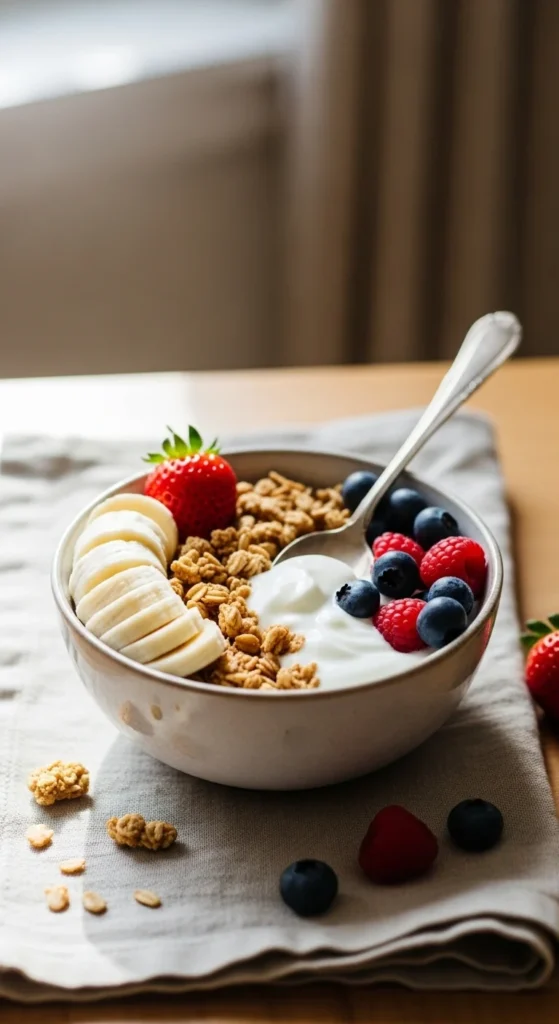
- Sprinkle over Greek yogurt with fresh fruit
- Pour a bowl with cold milk or almond milk
- Pack it in small jars for on-the-go snacks
- Sprinkle on smoothie bowls for crunch
- Use it as a topping for ice cream or baked apples for dessert
Tips for Perfect Granola Every Time
- Don’t over-stir: The less you move it while baking, the bigger your clusters will be.
- Watch the oven: Granola goes from golden to burnt quickly — check at the 30-minute mark.
- Double the batch: You’ll thank yourself later.
- Customize: Add seeds (chia, pumpkin, sunflower) for extra nutrition or drizzle melted nut butter over the mix before baking for added richness.
Final Sprinkle of Sweetness
Once you make this maple syrup granola, you’ll never go back to store-bought. It’s the perfect mix of crunchy, nutty, and caramelized, with just enough sweetness to make it dangerously snackable.
Make a big batch this weekend, store it in a pretty jar, and enjoy a handful whenever you need a little comfort.
✨ Save this recipe for later — your future self (and your breakfast bowls) will thank you!

Leave a Reply